
 Tweet
Tweet
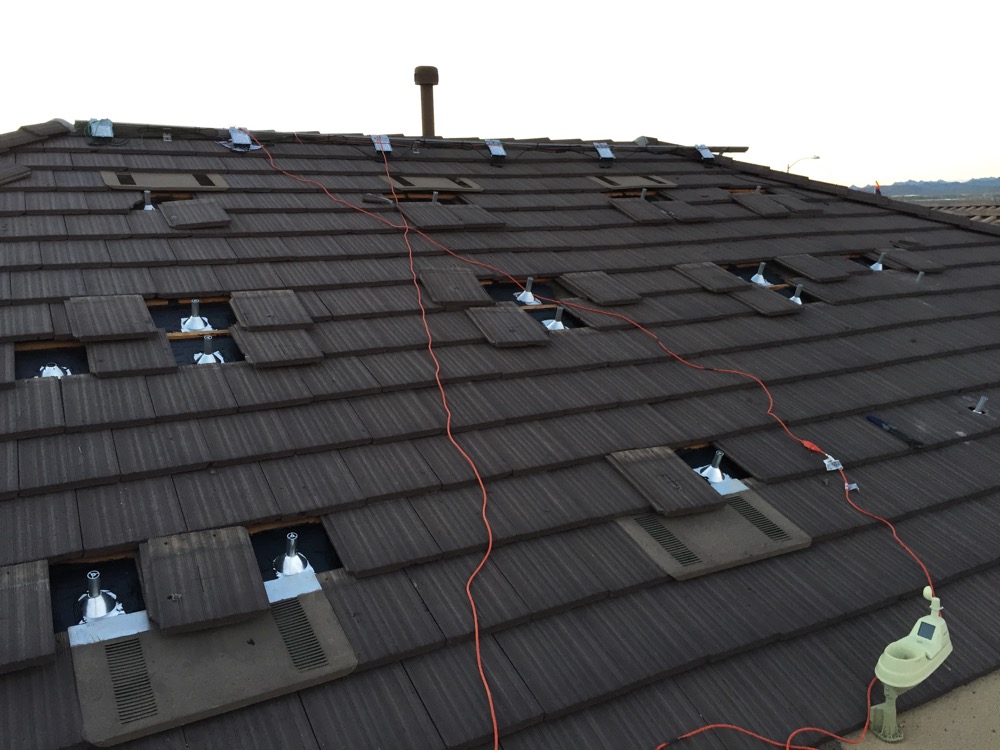
I'm using Unirac racking and using their online diagram tool, and putting in my zip code, shows that 96" span is in fact ok...and the span is exactly 96" as the rafters are 24" apart and 24 divides into 96. The vent is just an attic vent but unfortunately as you can see, it's right in the middle of where a standoff should have gone, not much could be done about it. There are still a total of 6 standoffs for only 2 panels in that location so should be more than sufficient.
-
-
Oh but I did break out the tape measure.
But really, would it really matter if it's 97" or 98" even? Maybe if it's only two posts in the whole span, but this is a middle post and there is another one to the right of it just 24" away. Plus the 3 posts on the bottom are all ideally spaced. To me, this Quick Mount PV system actually seem like a bit of overkill, at least for this climate (Phoenix, AZ). These are universal mounts so they can be used in both FL and AZ and they aren't going to be make different ones for different areas.
On that note too, I finished up this morning with all the flashing/roofing cement and again, with that I really feel like it's overkill. I still did it, because I don't think you can really have too much protection there...but come on...you have two 5/18 holes, which have roofing sealant in them...which are then tightened tight with a round base over top. Then you have a 9x9 flashing with a U shape of silicon. Then, you have a first layer of roofing cement, followed by reinforcing fabric, followed by another layer of roofing cement. And THEN, still not done, you have another flashing on top of the tile that as a collar around the standoff which itself has some roofing sealant on it.
I mean really, if water managed to even get below the tiles in the first place (and many people out here report that the underlayment is usually dry even after raining)...it would then have to get past the two layers of roofing cement, and then past the U shape sealant, and then past the round standoff base, and past the sealant in the two 5/16" holes. That's just ridiculous.

Comment
-
That seems good if the mfg is good with 96". Based on me being a government bureaucrat, and dealing with many others fairly often, I think a reasonable inspector would overlook an inch or two of excess if he knew about it.
I wish I'd known about all of these online engineering tools when I did mine, it would have saved a lot of time.Comment
-
Well, yeah, the three course method is kind of ridiculous. Most people would tuck the top edge of the flashing under the higher layer of tar paper and call it good. As far as sealants go, it sounds like silicone is somewhat more difficult to use properly than tripolymer might be.CS6P-260P/SE3000 - http://tiny.cc/ed5ozxComment
-
Unfortunately tucking under the next layer up wasn't an option for me, it would have taken significantly more work (removing more tiles, removing battons) plus there were barely any seams that I spotted...the underlayment rolls they must have used are pretty wide it seems.Comment
-
If it's only spec'd by the manufacturer for 96", and you're doing 98", then an inspector certainly could fail you. (they probably wouldn't, but you wouldn't really have recourse since you weren't installing per manfacturer guidelines. At least probably no recourse short of getting that particular design signed off by a licensed eng. )
The quickmount system is just the attachment to the roof - they don't specify distance that the racking can span.To me, this Quick Mount PV system actually seem like a bit of overkill, at least for this climate (Phoenix, AZ). These are universal mounts so they can be used in both FL and AZ and they aren't going to be make different ones for different areas.
And having done some playing with the tool for ironridge, they have different spans allowed for different conditions (and with different systems that they sell)
But if you mean the different layers of protection they have as their normal installation methodology... I think it's good for there to be multiple levels of protection. I don't know if what they're recommending is excessive for a tile roof - maybe it is - but if it were me, I'd still be doing it. (I will be following their recommendation for their asphalt shingle roof since that's what I have.)Comment
-
Well...for what it's worth...the inspector here locally doesn't even go up on the roof, they do all "inspecting" from street level, so no real concern about the mounts passing.Comment
-
Today's update...
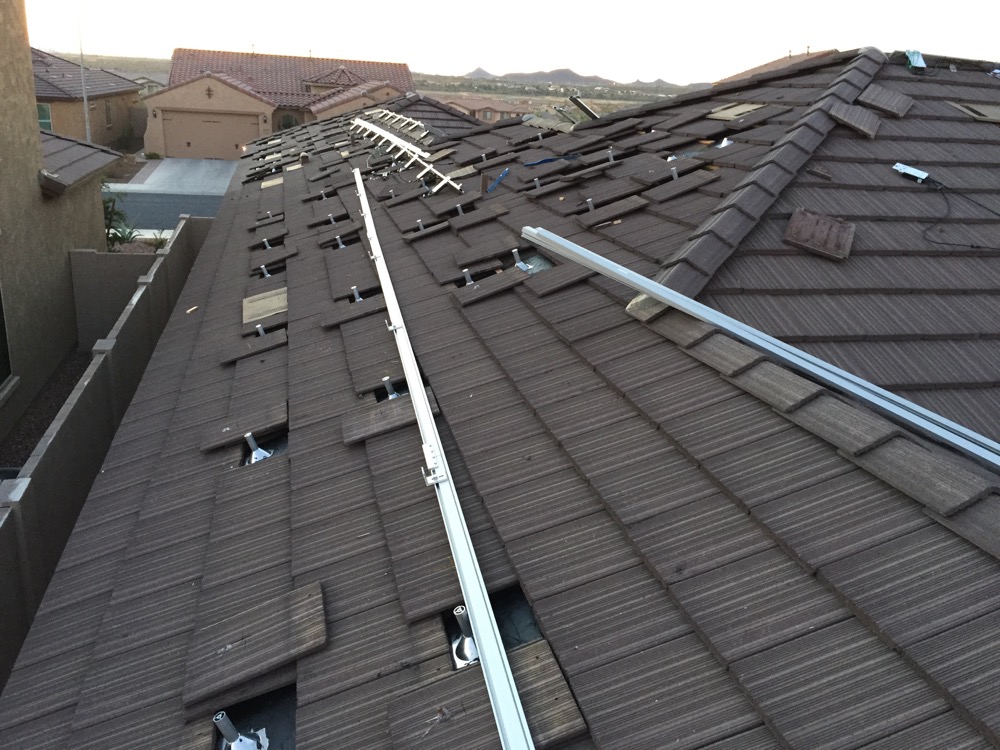
Put on the second coat of roofing cement over the reinforcing fabric before noon and then got to work on setting the tiles back in place, except for the ones that need holes drilled. For those, measured out a counterpoint of where the holes need to be drilled and marked them, ready for drilling tomorrow. I figure tomorrow I should actually be done with all the posts and be ready for the rails to go on!
Comment
-
If the rafters were off 1" to 2" over 4 spans because of the house builder, and the inspector failed me for the solar panel support spacing off by 1"-2", I'd be wanting to find out where the inspector lives. That seems a bit over the top. I guess anything is possible, but come on, that's 2% over.Comment
-
Why not?
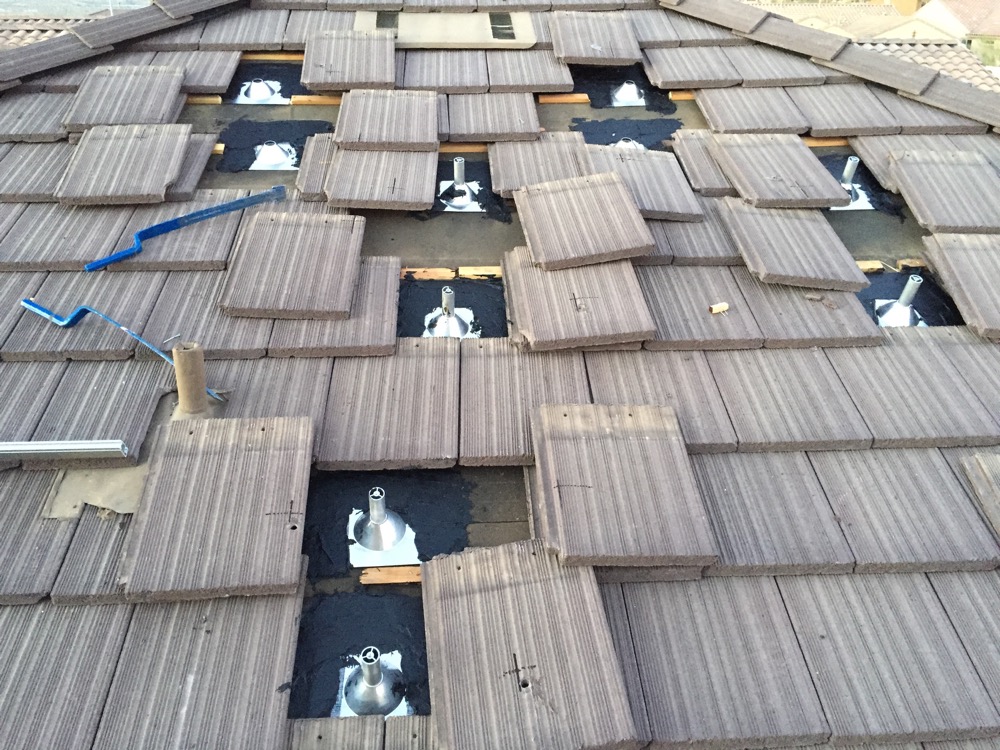
I used a 4" hole saw so that I didn't have to be that precise with where I made it, otherwise if I wasn't exact, I'd have to cut some more which would suck.
Besides there is another piece of 18"x18" flashing that goes over the top so the size of the hole isn't really important.
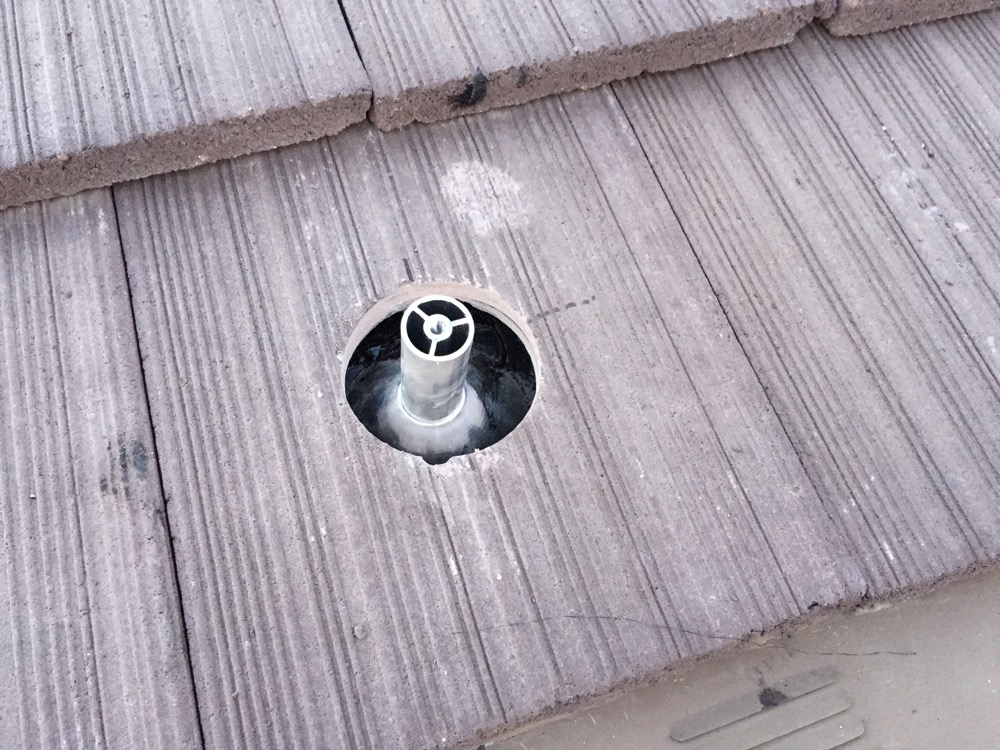
Final product will look like this:

Comment
-
Why don't you just leave the tile off? The top flashing will cover everything any way
Seriously, you should make smaller holes.
You've come this far doing everything first class, don't stop now.6k LG 300, 16S, 2E, 2W, Solaredge P400s and SE5000Comment
-
Guys, the hole is fine, really. What exactly do you foresee the problem being?
Look at the demo video screenshot from Quick Mount PV...

Comment


Comment